#1
? | |  | |
#2
Velociraptor |  | | |
#3
Brachiosaurus |  | | |
#4
Gallimimus | 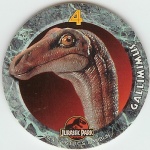 | | |
#5
Dilophosaurus | 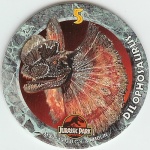 | | |
#6
Triceratops | 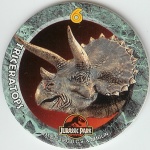 | | |
#7
Dr. Alan Grant
Palaeontologist |  | | |
#8
Dr. Ellie Sattler
Palaeobotanist |  | | |
#9
John Hammond
Entrepreneur |  | | |
#10
Dr. Ian Malcolm
Mathematician |  | | |
#11
Dennis Nedry
Programmer |  | | |
#12
Robert Muldoon
Game Warden |  | | |
#13
Tim Hammond
Dinosauraholic |  | | |
#14
Lex Hammond
Computer Hacker |  | | |
#15
Steven Spielberg
Director |  | | |
#16
The Amber Mine
An Insect In Amber |  | | |
#17
The Montana Dig
Ellie And Alan |  | | |
#18
A Secret Plan
Industrial Spy |  | | |
#19
The Main Compound
Visitors Center |  | | |
#20
Mister DNA
Explains It All | 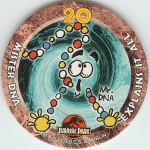 | | |
#21
The Hatchery
A Baby Raptor |  | | |
#22
How Can We Know
What To Expect? |  | | |
#23
The Kids Arrive
Tim And Lex |  | | |
#24
The Tour Begins
Will They Return? |  | | |
#25
Anticipation And
Excitement |  | | |
#26
A Sick Triceratops
Ellie Helps Out |  | | |
#27
Nedry Starts To Panic
The Storm Builds |  | | |
#28
The Genetic Lab
Stealing Embryos |  | | |
#29
Something's Coming
Something Big! |  | | |
#30
The Rex Appears
Through The Fence |  | | |
#31
? | | | |
#32
The Rex Attacks!
The Kids Struggle |  | | |
#33
The Rex Gets Angry
The Car Gets Crushed |  | | |
#34
? | | | |
#35
? | | | |
#36
The Spitter Hits Nedry
Right In The Face! |  | | |
#37
The Spitter Moves In
For The Final Kill | 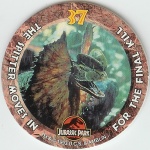 | | |
#38
Stuck In A Treetop
Tim Is Trapped |  | | |
#39
Ellie And Muldoon
Find Malcolm |  | | |
#40
A Morning Visitor
An Unusual Wake-Up |  | | |
#41
Dr. Grant Discovers
The Dinosaur Eggs |  | | |
#42
Systems Shut Down
Ellie Restores Power |  | | |
#43
Tim Becomes A Human
Piece Of Toast! | 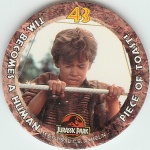 | | |
#44
A Raptor Attacks
Ellie In The Red |  | | |
#45
Muldoon Hunts
Or Is He Hunted? | 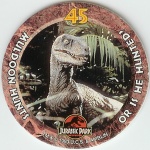 | | |
#46
A Raptor Appears
In The Kitchen | 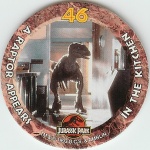 | | |
#47
The Raptors Stalk
Tim And Lex |  | | |
#48
The Cunning Hunter
Hears A Noise |  | | |
#49
Tim And Lex Fight
To Trap A Raptor |  | | |
#50
Re-Booting The System
The Raptor Waits |  | | |
#51
The Ceiling Explodes
The Raptor Is Gaining |  | | |
#52
Nowhere To Run
Nowhere To Hide |  | | |
#53
? | | | |
#54
? | | | |