AFL Crown & Andrews POG Slammers
Set of 16 (AF1-AF16)
Year: 1995
Country: Australia
Brand: POG
Theme: AFL
Slammers to go with the AFL Crown & Andrews POG Series.
There are 6 Colours per Slammer.
We recently had an issue with a malicious attack and have lost some image data. I am working to restore what I can :/!
| Standard Issue | Variation | Error |
|---|
| Number / Title | Front Image | Back Image | Buy |
|---|---|---|---|
| Number / Title | Front Image | Back Image | Buy |
#AF1 (Blue) | |||
#AF1 (Green) | |||
#AF1 (Purple) | |||
#AF1 (Rainbow) | |||
#AF1 (Red) | |||
#AF1 (Silver) | |||
#AF2 (Blue) |  | ||
#AF2 (Green) | 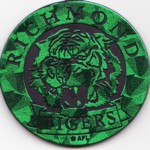 | | |
#AF2 (Purple) | 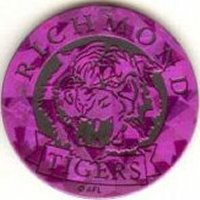 | | |
#AF2 (Rainbow) | | ||
#AF2 (Red) | 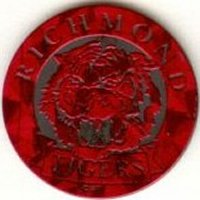 | | |
#AF2 (Silver) |  | | |
#AF3 (Blue) |  |  | |
#AF3 (Green) |  | | |
#AF3 (Purple) | 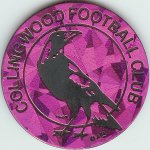 | | |
#AF3 (Rainbow) | 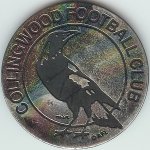 | | |
#AF3 (Red) | 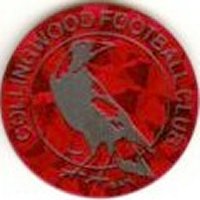 | | |
#AF3 (Silver) | 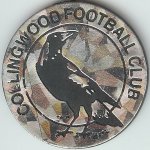 | | |
#AF4 (Blue) | |||
#AF4 (Green) | |||
#AF4 (Purple) | |||
#AF4 (Rainbow) | |||
#AF4 (Red) | |||
#AF4 (Silver) | |||
#AF5 (Blue) | 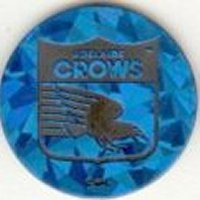 |  | |
#AF5 (Green) | 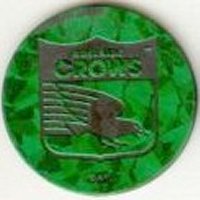 | | |
#AF5 (Purple) | 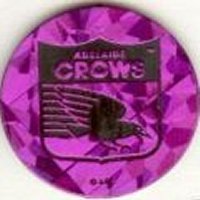 | | |
#AF5 (Rainbow) | 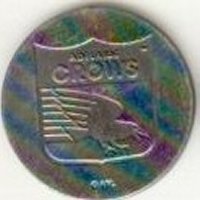 | | |
#AF5 (Red) | 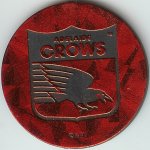 | | |
#AF5 (Silver) | 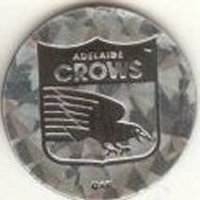 | | |
#AF6 (Blue) |  |  | |
#AF6 (Green) |  | | |
#AF6 (Purple) |  | | |
#AF6 (Rainbow) |  | | |
#AF6 (Red) |  | | |
#AF6 (Silver) |  | | |
#AF7 (Blue) | 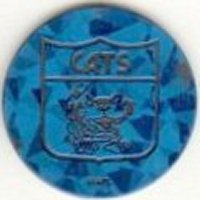 |  | |
#AF7 (Green) | 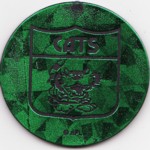 | | |
#AF7 (Purple) | 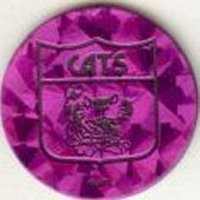 | | |
#AF7 (Rainbow) |  | | |
#AF7 (Red) | | ||
#AF7 (Silver) | 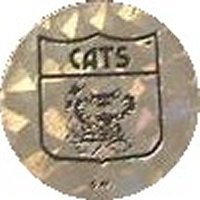 | | |
#AF8 (Blue) |  | ||
#AF8 (Green) |  | | |
#AF8 (Purple) | | ||
#AF8 (Rainbow) | | ||
#AF8 (Red) | | ||
#AF8 (Silver) | | ||
#AF9 (Blue) |  |  | |
#AF9 (Green) |  | | |
#AF9 (Purple) |  | | |
#AF9 (Rainbow) |  | | |
#AF9 (Red) | 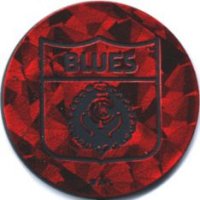 | | |
#AF9 (Silver) | 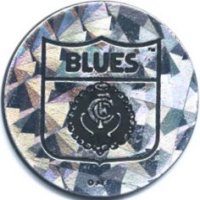 | | |
#AF10 (Blue) |  |  | |
#AF10 (Green) | 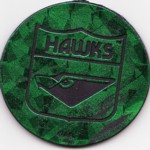 | | |
#AF10 (Purple) | 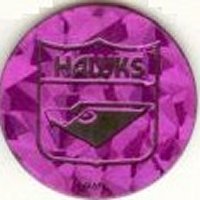 | | |
#AF10 (Rainbow) | 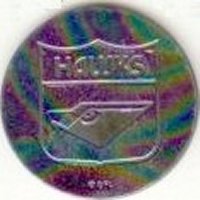 | | |
#AF10 (Red) | 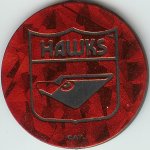 | | |
#AF10 (Silver) | 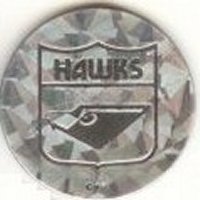 | | |
#AF11 (Blue) | 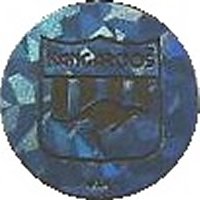 |  | |
#AF11 (Green) | | ||
#AF11 (Purple) | 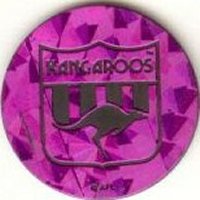 | | |
#AF11 (Rainbow) | 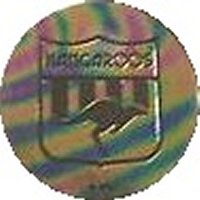 | | |
#AF11 (Red) | 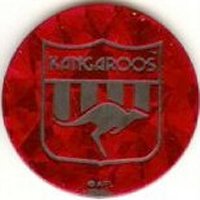 | | |
#AF11 (Silver) | 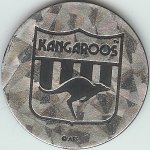 | | |
#AF12 (Blue) | 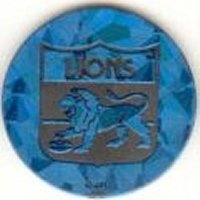 |  | |
#AF12 (Green) | 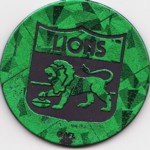 | | |
#AF12 (Purple) | 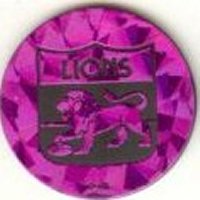 | | |
#AF12 (Rainbow) | | ||
#AF12 (Red) | 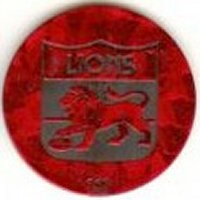 | | |
#AF12 (Silver) | 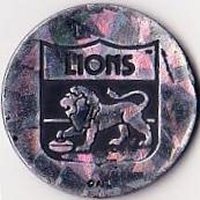 | | |
#AF13 (Blue) |  |  | |
#AF13 (Green) | 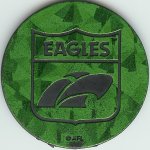 | | |
#AF13 (Purple) | 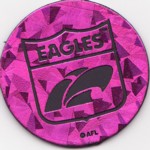 | | |
#AF13 (Rainbow) | 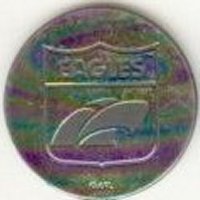 | | |
#AF13 (Red) | 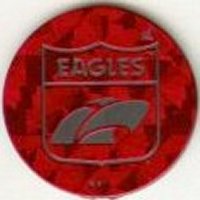 | | |
#AF13 (Silver) | 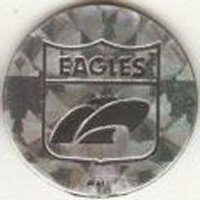 | | |
#AF14 (Blue) | 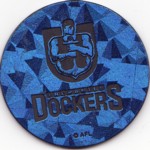 |  | |
#AF14 (Green) |  | | |
#AF14 (Purple) |  | | |
#AF14 (Rainbow) |  | | |
#AF14 (Red) |  | | |
#AF14 (Silver) | 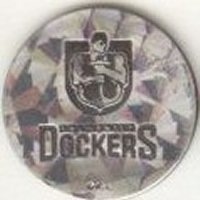 | | |
#AF15 (Blue) | 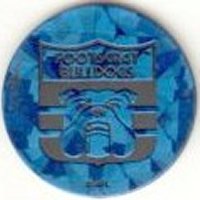 |  | |
#AF15 (Green) | 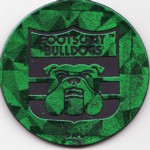 | | |
#AF15 (Purple) | 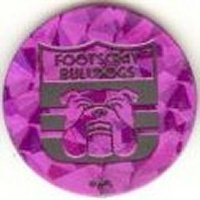 | | |
#AF15 (Rainbow) | 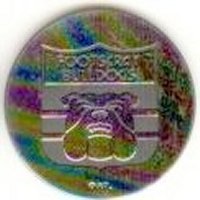 | | |
#AF15 (Red) | | ||
#AF15 (Silver) | | ||
#AF16 (Blue) | 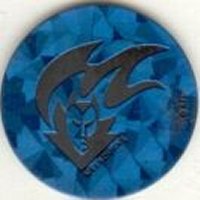 |  | |
#AF16 (Green) | | ||
#AF16 (Purple) |  | | |
#AF16 (Rainbow) |  | | |
#AF16 (Red) | | ||
#AF16 (Silver) |  | |